Tag: fishfinder features explained

  • CHIRP vs Side Imaging vs Down Imaging: Sonar Technology Explained

    CHIRP vs Side Imaging vs Down Imaging: Sonar Technology Explained

    CHIRP vs side imaging vs down imaging sonar technology

    These three terms get thrown around constantly in fish finder marketing, and they genuinely do different things. Here’s what each shows you and when to use it.

    CHIRP (traditional) sonar

    CHIRP sends a sweep of frequencies rather than a single pulse, giving sharper target separation than older sonar. It shows a vertical slice of water directly beneath the boat — this is what gives you the classic “fish arch” and bottom hardness reading. It’s the best mode for tracking fish depth in real time while moving.

    Down imaging

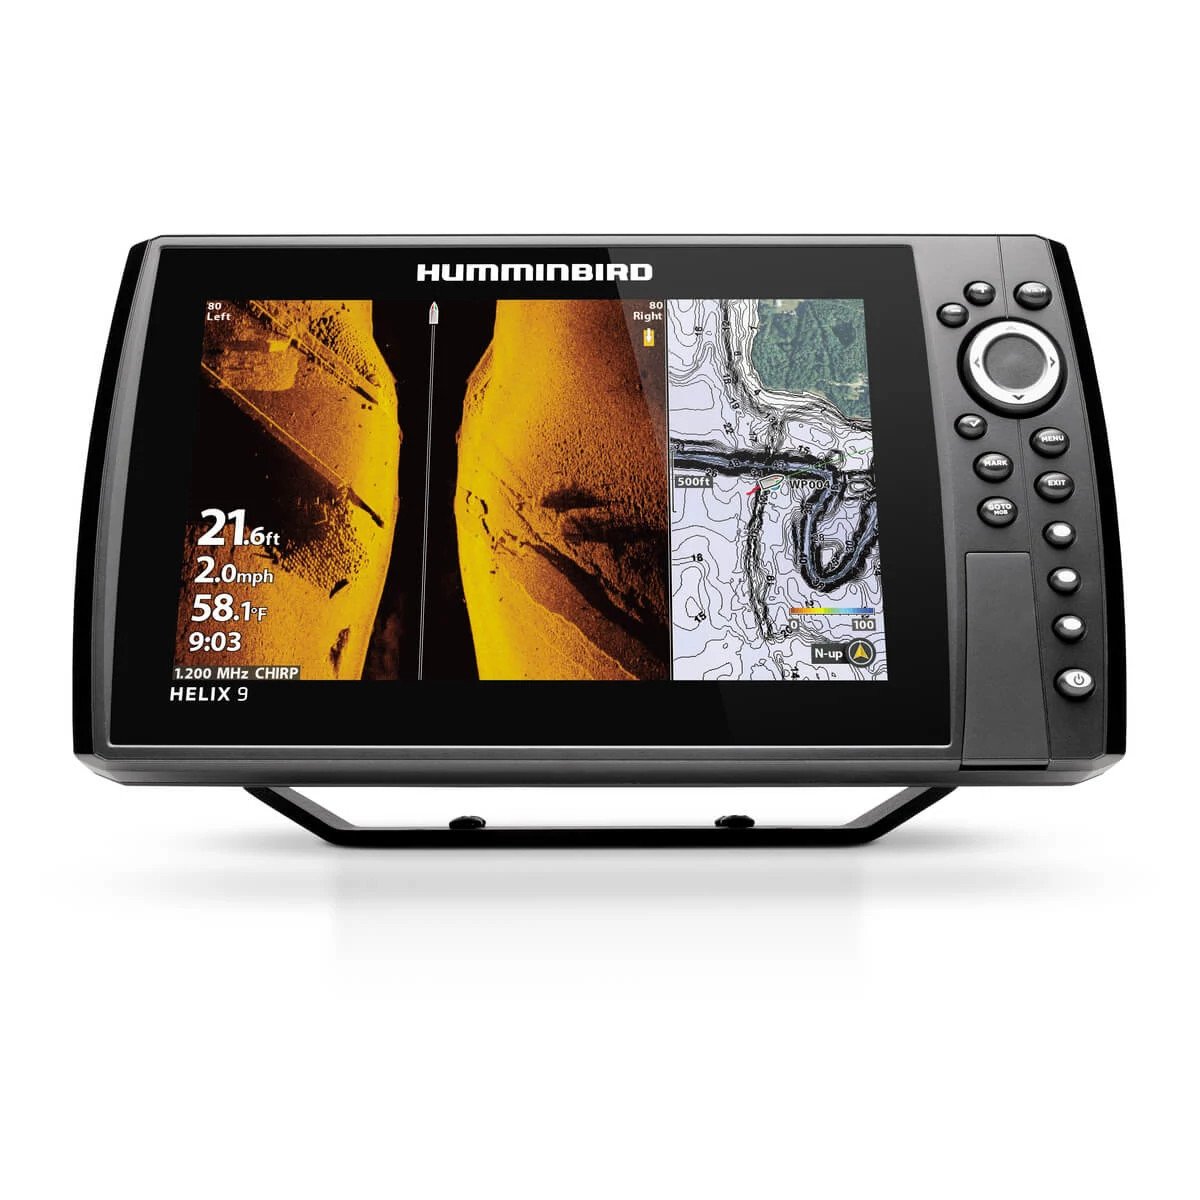
    Down imaging uses a different frequency to produce a near-photographic picture of what’s directly under the boat — you can often make out individual fish, wood cover and rock piles far more clearly than on CHIRP. It’s slightly slower to interpret fish depth from, so most anglers run it alongside CHIRP rather than instead of it.

    Side imaging

    Side imaging scans out to either side of the boat rather than beneath it — brilliant for covering water quickly to locate structure, schools and drop-offs before you fish them. Think of it as a search tool, then switch to CHIRP or down imaging once you’ve found something worth stopping for.

    Which do you actually need?

    Most mid-range and above fish finders today include all three in one unit, so it’s less about choosing and more about learning to switch between them for the situation. Browse our full fish finder range or get in touch if you want help matching sonar features to how you fish.
  • How to Choose a Fish Finder: Beginner’s Complete Guide

    How to Choose a Fish Finder: Beginner’s Complete Guide

    how to choose a fish finder beginners guide

    Walking into fish finder shopping cold is genuinely confusing — screen sizes, sonar types and acronyms everywhere. Here’s what actually matters when choosing your first unit.

    1. Screen size

    Bigger isn’t always better — it’s about your boat and budget. A 5-7 inch screen suits kayaks and small boats. 9 inches is the sweet spot for most trailer boats. 12 inches and up make sense once you’re running split-screen views or forward-facing sonar regularly.

    2. Sonar type

    • CHIRP (traditional) sonar — shows fish arches and bottom structure directly below the boat
    • Down imaging — near-photographic detail directly beneath you, great for identifying structure
    • Side imaging — scans wide to either side, excellent for covering water quickly to find structure and schools

    3. Do you need GPS?

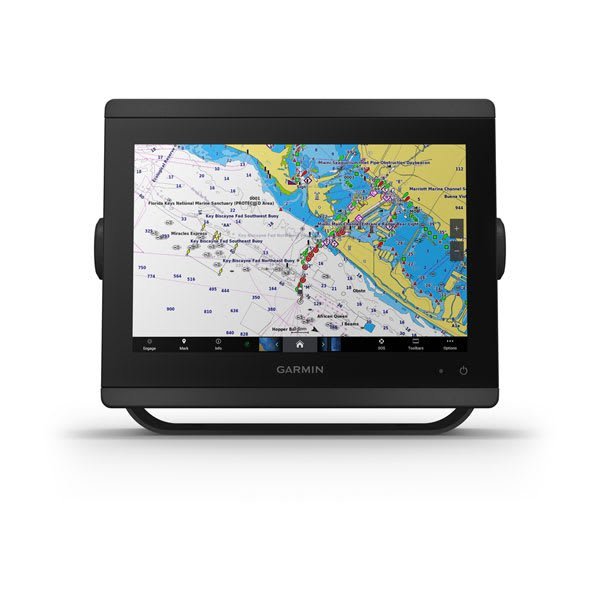
    If you want to mark waypoints, navigate home in poor visibility, or eventually add charts, get a GPS-equipped unit from the start — retrofitting later means buying a new unit rather than adding a module.

    4. Budget guide

    For a realistic starting budget, see our Best Marine GPS Under £500 guide. Ready to compare our full range? Browse fish finders in the shop, or ask us directly — tell us your boat and budget and we’ll point you to the right unit.