
Installing a fish finder yourself saves on fitting costs and isn’t as daunting as it looks. Here’s the process broken into clear steps.
1. Plan the mounting position
Choose a spot that’s visible from the helm, protected from spray where possible, and has clear access behind the console for cabling. Check swing clearance for any hinged panels or hatches nearby.
2. Mount the transducer
Transom-mount transducers need to sit level with the hull bottom, clear of propeller wash and any turbulence sources like strakes or through-hull fittings. Follow the manufacturer’s positioning diagram closely — a poorly placed transducer is the most common cause of noisy or unreliable readings.
3. Run and secure the cabling
Keep transducer and power cables away from other electrical wiring where possible to reduce interference, and secure every few inches to prevent chafe. Leave a small service loop at both ends.
4. Power and network connection
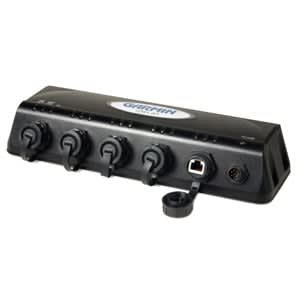
Wire power through a dedicated fuse, and if you’re networking multiple devices, a marine network switch keeps everything talking cleanly on one NMEA 2000 backbone rather than daisy-chaining devices.
5. Test before you seal anything up
Power on and confirm sonar returns and GPS lock before finishing any panel work or sealant — much easier to fix a placement issue now than after everything’s buttoned up. Not confident doing it yourself? get in touch and we can talk you through your specific setup.
Leave a Reply